

You coordinate electronics and garment prototype iterations by running both tracks against one shared plan, one set of interface definitions, and fixed integration points. Electronics move in days, textiles in weeks, so the two only stay aligned when each team knows which decisions the other depends on and when they lock.
The key driver is the interface between the two disciplines: sensor positions, wire routes, connector placement, and strain relief. Treat that interface as a controlled document, and the rest of the process becomes manageable. The sections below cover the questions teams ask most often when they try to make this work.
Why do electronics and garment iterations fall out of sync?
Electronics and garment iterations fall out of sync because the two disciplines run on different clocks and rarely share a common specification. A PCB revision can ship in days. A new garment pattern, fabric order, or sewn sample takes weeks. Without a shared plan, each team optimises its own track and the mismatch only surfaces at assembly.
Several recurring causes sit behind this gap:
- Different lead times. Board spins, 3D prints, and firmware builds are fast. Fabric sourcing, pattern grading, and sewing are slow.
- Unwritten dependencies. A change in board thickness or connector position forces a pattern change, but nobody told the garment team.
- Different success criteria. Electronics engineers test signal quality and power draw. Garment designers evaluate fit, drape, and washability. Neither measures the other’s failure modes.
- Body behaviour. Sensors and actuators behave differently on a moving body than on a bench, so a design that passes in isolation can fail once worn.
Teams that treat the garment as a passive carrier tend to discover too late that textile stretch, seam position, and skin contact shape electronic performance directly.
How do you set up a shared iteration plan?
A shared iteration plan is a single schedule that maps electronics milestones and garment milestones to the same integration dates. Start from the dates when both tracks must meet, then work backwards to define what each side must freeze, deliver, or test by then.
A workable structure includes:
- Define the interface first. Agree on sensor and actuator locations, cable routes, module size, and connector type before either team builds anything detailed.
- Set integration checkpoints. Choose fixed moments when a real electronics sample meets a real garment sample, even if both are rough.
- Assign one owner for the interface. One person, usually the project manager or a systems engineer, owns the interface document and arbitrates conflicts.
- Agree on change rules. Any change that touches the interface requires notice to the other track before it is implemented.
- Review at every checkpoint. Update requirements and the plan after each integration, not only at the end.
Staged development helps here. Early phases should de-risk the concept cheaply, using off-the-shelf parts, wired connections, and a modified base garment. Custom pattern work and custom boards only start once the concept has proven itself. That sequencing keeps the two tracks from over-investing in details that will change.
What should be documented and version-controlled between teams?
The documents that cross the electronics and garment boundary should be version-controlled together: the interface specification, the bill of materials, the placement drawings, the firmware version, and the test results. If a change in one file affects another track, both teams must see it.
At a minimum, control these items:
- Interface specification. Component positions on the body, module dimensions, connector types, cable lengths, and allowed strain zones.
- Bill of materials. Electronic components and textile materials in one list, with supplier and revision data.
- Garment patterns and cut files. Tied to the electronics revision they were designed for.
- Firmware and hardware revisions. Logged against the physical sample numbers they were flashed onto.
- Test logs. Wear tests, wash tests, and signal quality results, referenced to the exact prototype revision.
- Risk register. Textile-specific risks such as washability, biocompatibility, sizing, and conductivity sit next to electronics risks such as power and connectivity.
Label every physical prototype with a revision code that maps to this documentation. When a tester reports a problem, you should be able to trace it to a specific board, firmware build, and garment version within minutes.
How can electronics be tested before the garment is final?
You can test electronics before the garment is final by mounting them on a stand-in carrier: a modified base garment, a strap, a 3D-printed mount, or a temporary harness. This validates sensing, haptic output, and power behaviour on a real body while the final textile design is still open.
Practical approaches include:
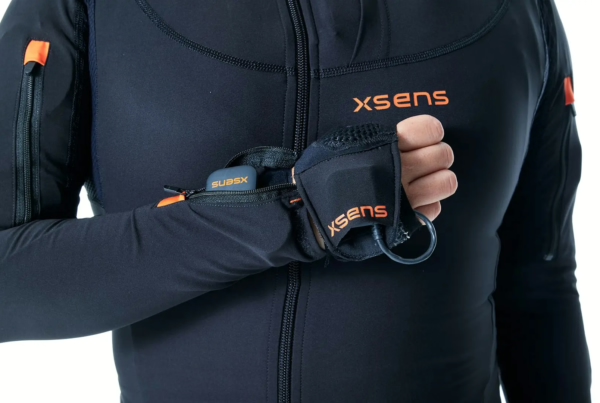
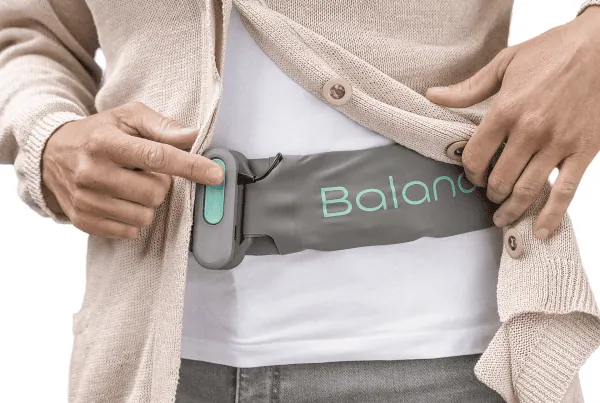
- Base garment with basic customisation. An existing compression top or belt, modified to hold the electronics in the right positions.
- Wired, module-based builds. Development boards and wired connections are faster to change than custom PCBs and flexible circuits.
- Printed mock-ups. Rapid 3D-printed housings test ergonomics and wearability before any textile integration.
- On-body bench tests. Run the electronics on a moving person, not only on a desk, to catch motion artefacts, contact loss, and actuator perception issues early.
For haptic wearables, this stage matters especially. Whether a wearer can feel and interpret a vibration depends on actuator placement, skin contact, and the fabric layers between them, and no desk test reveals that.
When should electronics and textile prototypes be integrated?
Integrate electronics and textile prototypes as soon as the concept has been shown to work, and then repeat the integration at every iteration. Early integration can be crude. The goal is to expose interface problems while changes are still cheap, not to produce a polished product.
A sensible progression runs like this:
- Concept stage. Rough integration on a modified base garment to confirm the working principle.
- Pilot stage. Small batches of functional samples, with the real integration technique under evaluation, such as conductive yarns, printed electronics, or modular attachment.
- Final prototype stage. All required features in the final form factor, built with production-intent materials.
- Golden prototype. A frozen reference that serves as the production standard.
Choose the integration technique deliberately. Washable garments, for example, push you towards removable modules or encapsulated connections, while a single-use garment allows different trade-offs. Making that choice late forces expensive rework, so settle it during the pilot stage.
How does user testing feed back into both tracks?
User testing feeds back into both tracks when every finding is classified by its cause: electronics, textile, or the interface between them. A wearer who reports poor signal might be seeing a firmware problem, a loose-fitting garment, or a shifting electrode, and each fix belongs to a different team.
To keep feedback useful:
- Define test goals in advance. Decide what each round must prove, such as comfort over a full day, haptic recognition accuracy, or signal quality during movement.
- Record both qualitative and measured data. Wearer comments tell you about comfort and perception. Logged sensor data shows what actually happened.
- Triage together. Review findings with both teams in the room, so a garment fit issue is not mistaken for a sensor fault.
- Feed results into the interface document. Update placement, tolerances, and requirements, then plan the next iteration from that revision.
Controlled tests early and uncontrolled tests later, with progressively more realistic prototypes, give the cleanest signal. Each round should narrow the open questions rather than add new ones.
How Elitac Wearables helps with electronics and garment prototype iterations
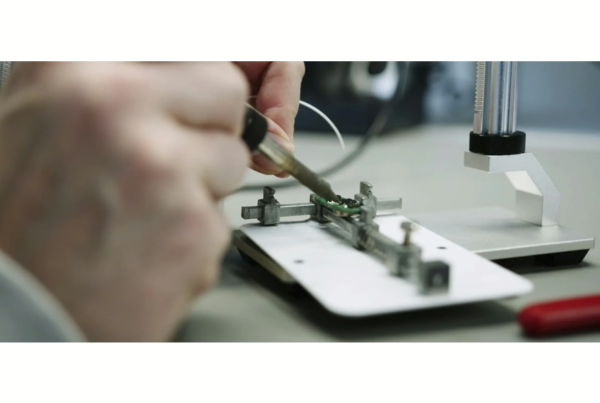
Elitac Wearables runs hardware, firmware, textile, and algorithm work under one roof, so the interface between electronics and garment has a single owner instead of falling between suppliers. Prototypes are built and iterated in a 180m² in-house Wearables Lab, which shortens the loop between a board change and a garment change.
- Structured phases from feasibility check through proof of concept, pilot samples, final prototypes, and first series
- Integration techniques ready to apply, including conductive yarns, printed electronics, and modular attachment
- Proprietary TacOS firmware for faster, more compact wearable development
- Haptic feedback expertise, tested on real bodies rather than only on the bench
- Certification guidance for medical, ATEX, and military wearables from the first design decisions
Want to see how this works in practice? Read about how we work or contact our team to discuss your prototype.